Wordpress
As a popular and versatile content management system, Wordpress offers an array of authentication methods to ensure smooth access to your website or application
Set Up SAML SSO via WordPress
To integrate with our WordPress AD, you need a thirdparty plugin from Minioranges.
There are a couple of Miniorange plugins and the plugin you need is:
SAML & WSFED IDP (SSO using WordPress Users)
After installation you will have to setup the SAML connection in both Ideanote and in WordPress.
WordPress Configurations
Step 1
Go to "Service Providers" in the plugin settings. Enter the following values and save the configuration:
- Service Provider Name: Ideanote
- SP Entity ID or Issuer: https://api.ideanote.io/sso/saml/metadata.xml
- ACS URL: https://api.ideanote.io/sso/saml/callback
NameID format: urn:oasis:names:tc:SAML:1.1:nameid-format:emailAddress
Step 2
Go to "IDP Metadata" and download the "metadata.xml" file.
You can do this by right clicking the URL ending with "metadata.xml" and click "Save link as..."
Ideanote Configurations

- Go to your Ideanote workspace.
- Go to "Settings" in the bottom left-hand corner.
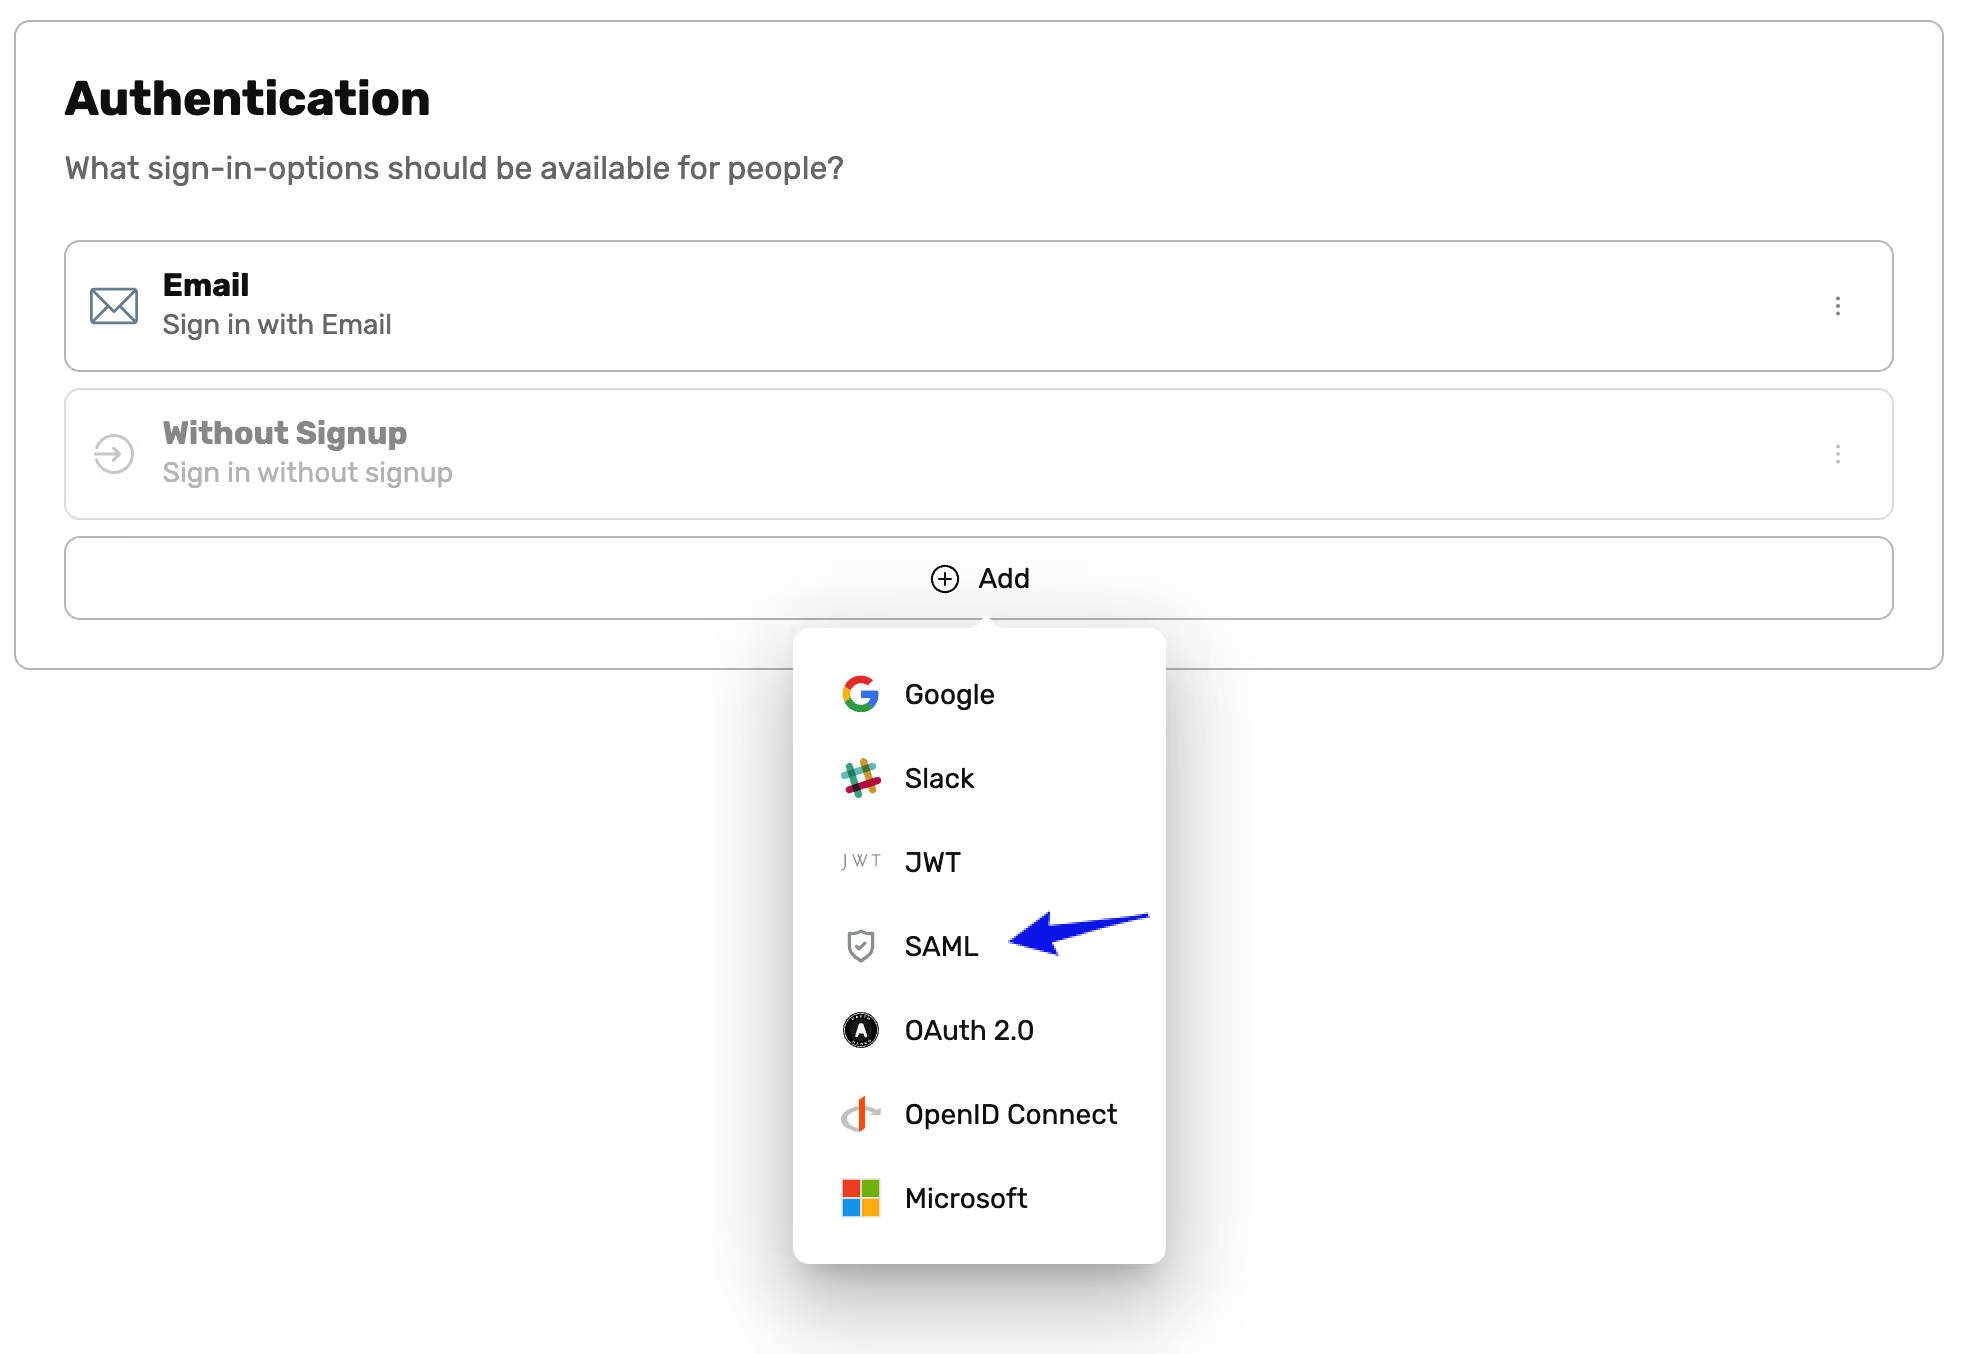
- Go to Authentication
- Click on Add
- Upload IDP-metadata file downloaded in Step 2
- Click "Save"
- (Optional) Test the SAML-setup by logging out of Ideanote (by clicking your avatar in the upper right-hand corner), and logging in using SAML.


