Thank you! Your submission has been received!
Oops! Something went wrong while submitting the form.
SAML SSO
Unlock the power of SAML SSO with Ideanote - where convenience meets cutting-edge security for an seamless authentication experience.
SAML Single Sign-On (SSO) is a robust and widely adopted authentication method that streamlines access to multiple applications and services with a single set of credentials.
As a cornerstone of federated identity management, SAML SSO enables seamless user experiences, granting users access to various systems without the hassle of repeated logins. If you would like to understand SSO, you can read these guides by Google, Microsoft or Cloudflare.

Configurations
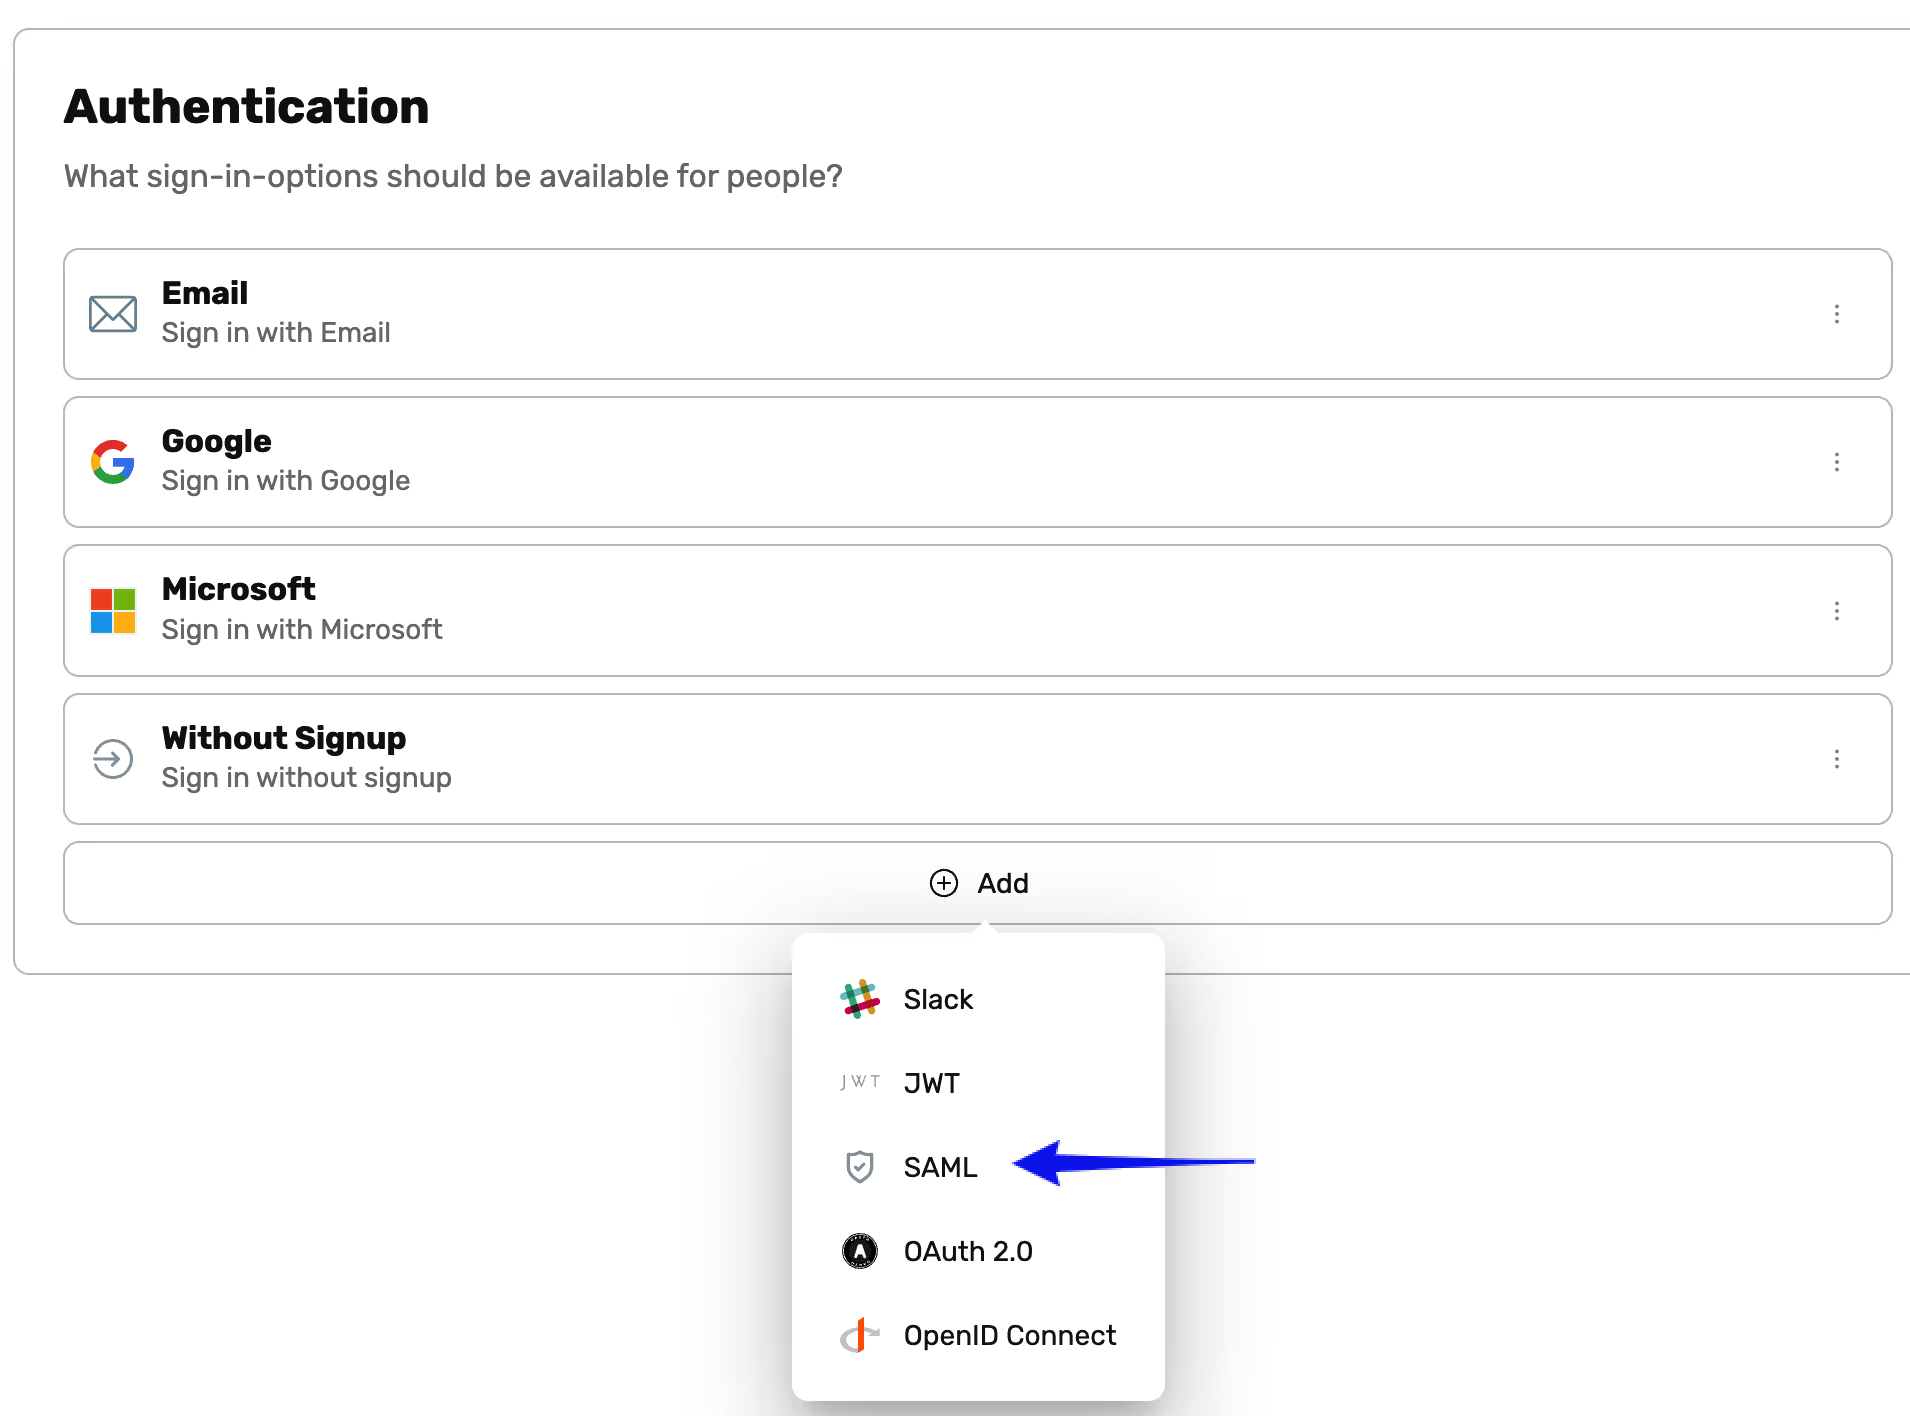
- Go to Settings
- Click Authentication
- Click Add and choose SAML, to add it as a provider.
- A dialog opens with 4 tabs for you to connect Ideanote to your IdP.
- Basics: Here you can configure basic information such as icon and title of your IdP.
- Configure IdP: Here you can copy values from Ideanote into your IdP. You will need to add "?subdomain=<your subdomain>" to the assertion consumer URL if you would like to support IdP initiated sign in flow. Example: https://api.ideanote.io/sso/saml/metadata.xml?subdomain=mysubdomain
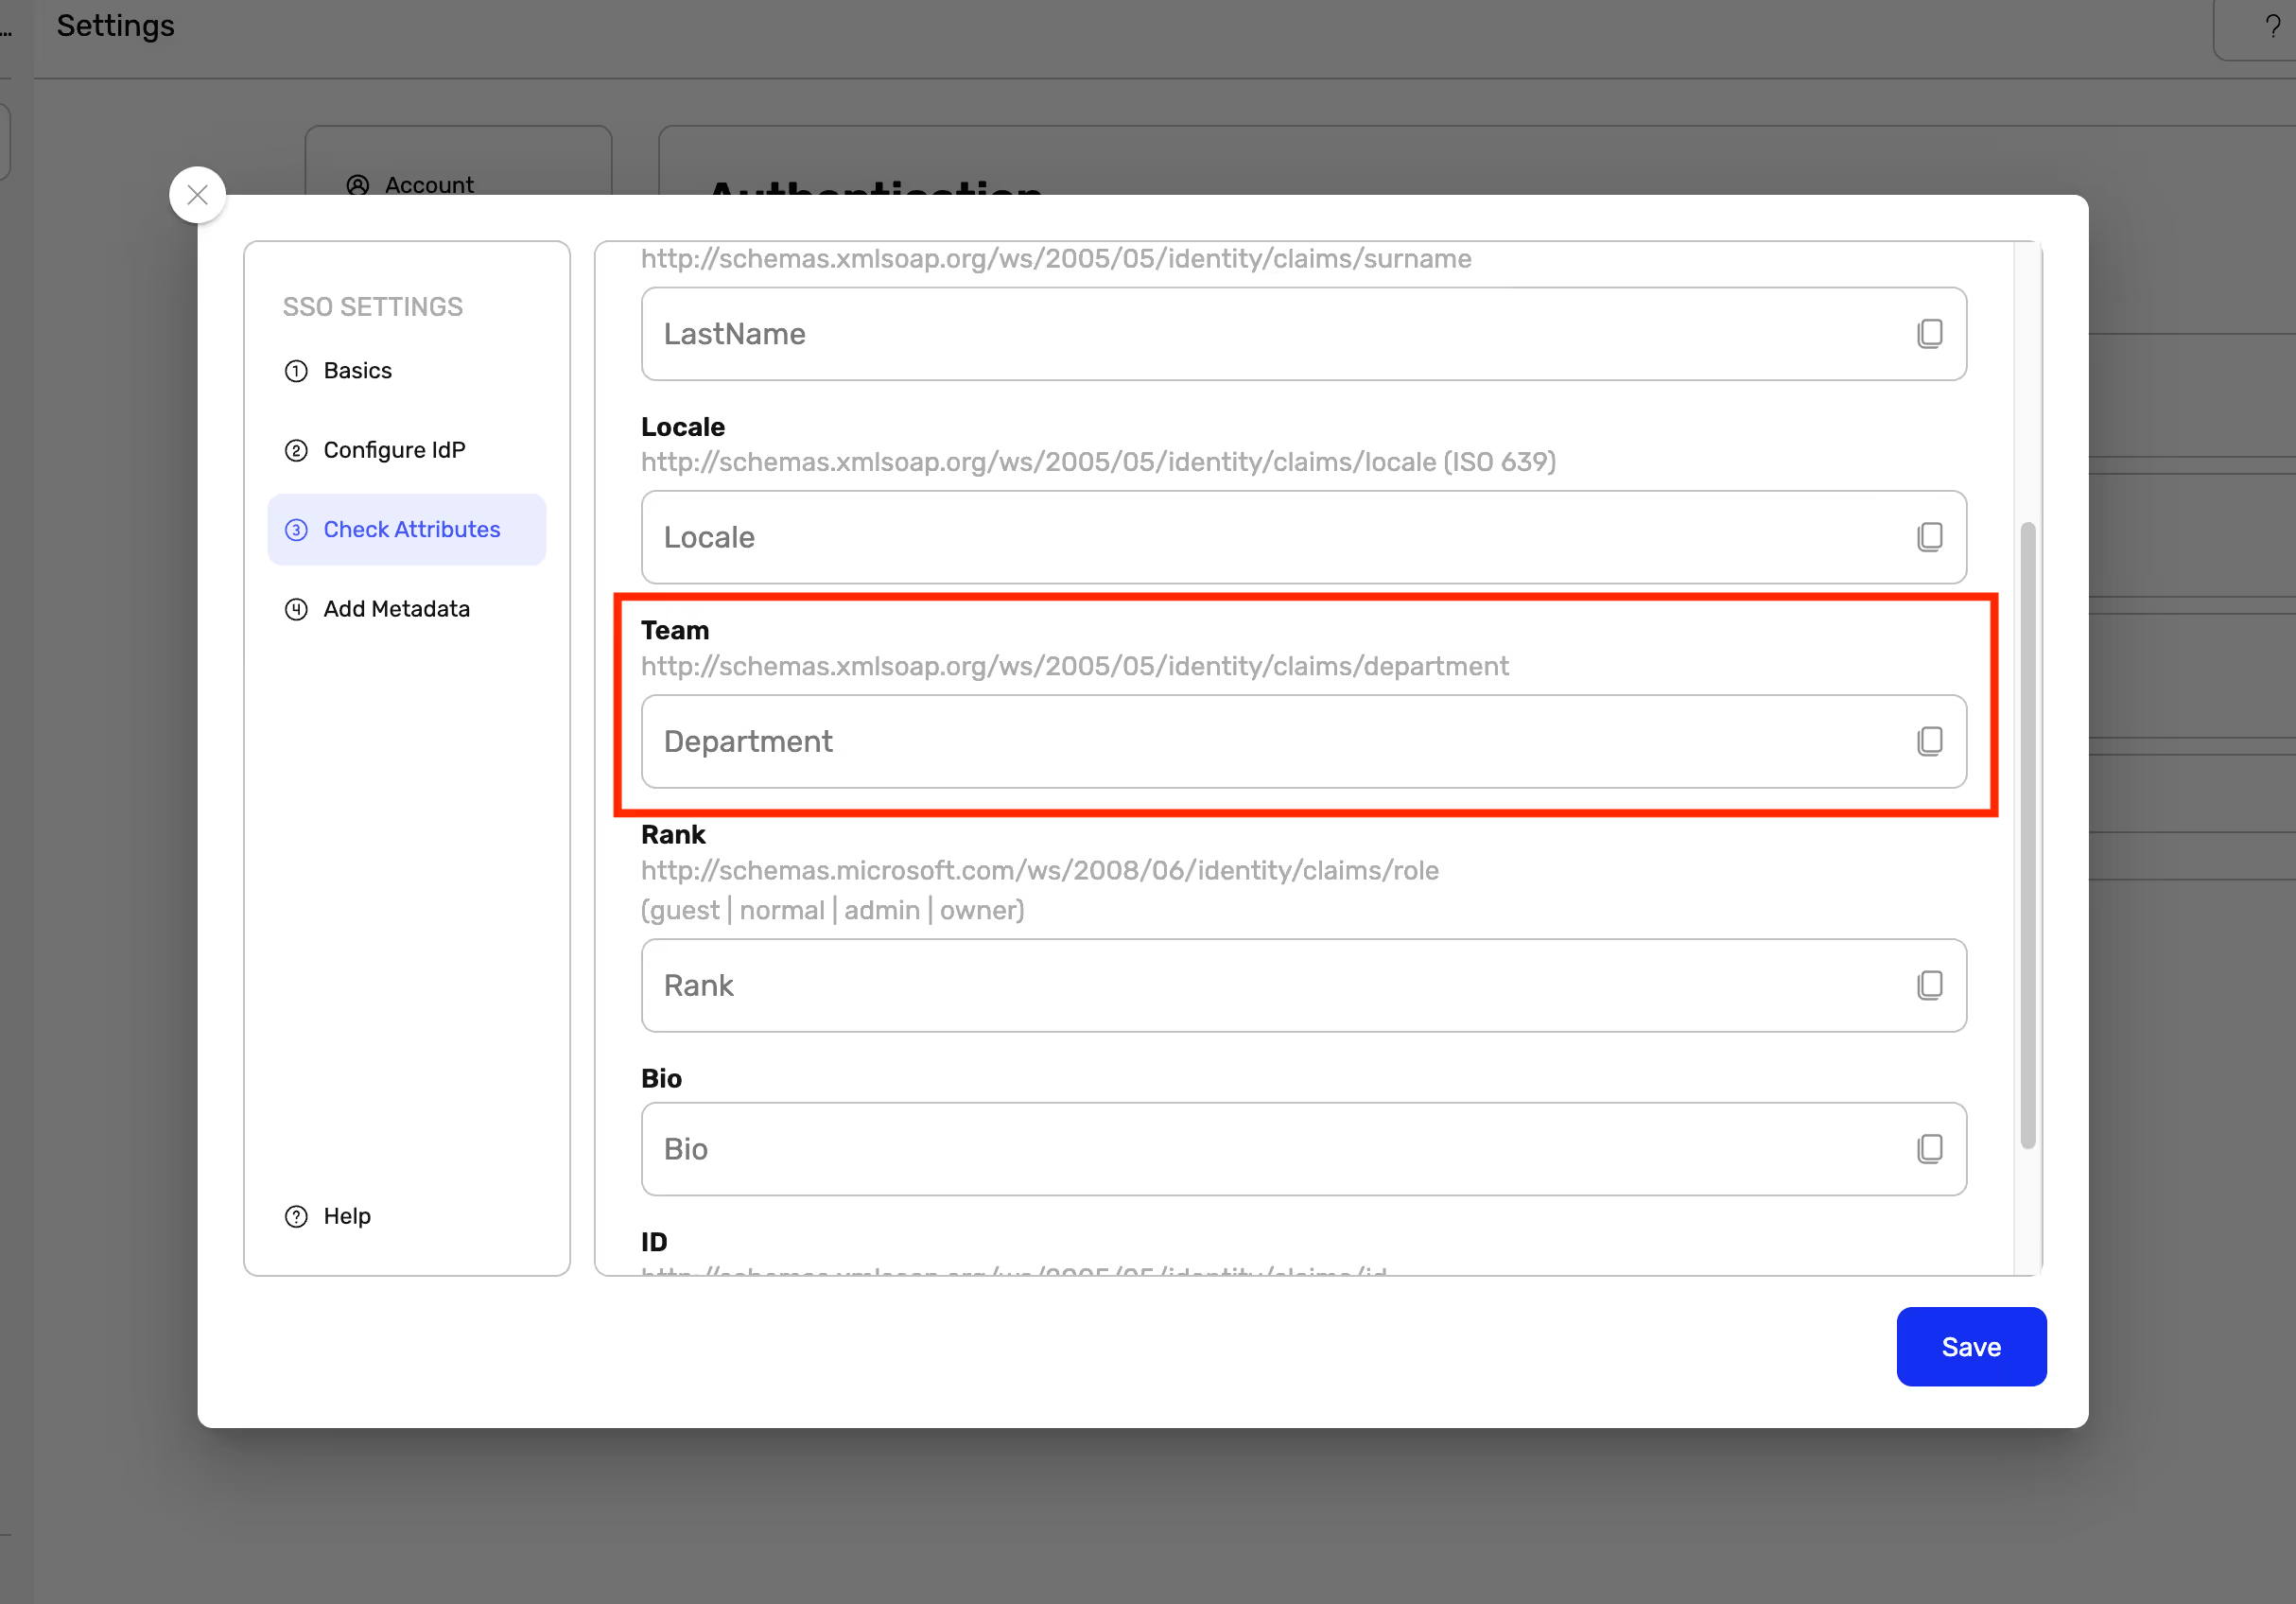
- Check Attributes: On this page you can set up custom attributes to sync from your IdP to Ideanote (e.g. Department - see image below). These attributes will have to be set up in your IdP. Note: Multiple Teams attributes can be listed but should be separated by "
|". - Add Metadata: Now you will need to link your IdP to Ideanote by entering Entity ID, Login URL and Certificate. This can be done by either manually copying data from your IdP to Ideanote or upload a IDP-metadata XML file.
- Select Save to on tab 4 to finish the setup.

Oops! Something went wrong while submitting the form.


