Custom Translation Variables
Custom Translation Variables allow you to create multilingual content in your workspace, making it accessible and engaging for global crowds.
Adding a Custom Translation Variable

Follow these steps to create a new Custom Translation Variable:
- Navigate to Settings > Workspace > Custom Translation Variables.
- Click Add.
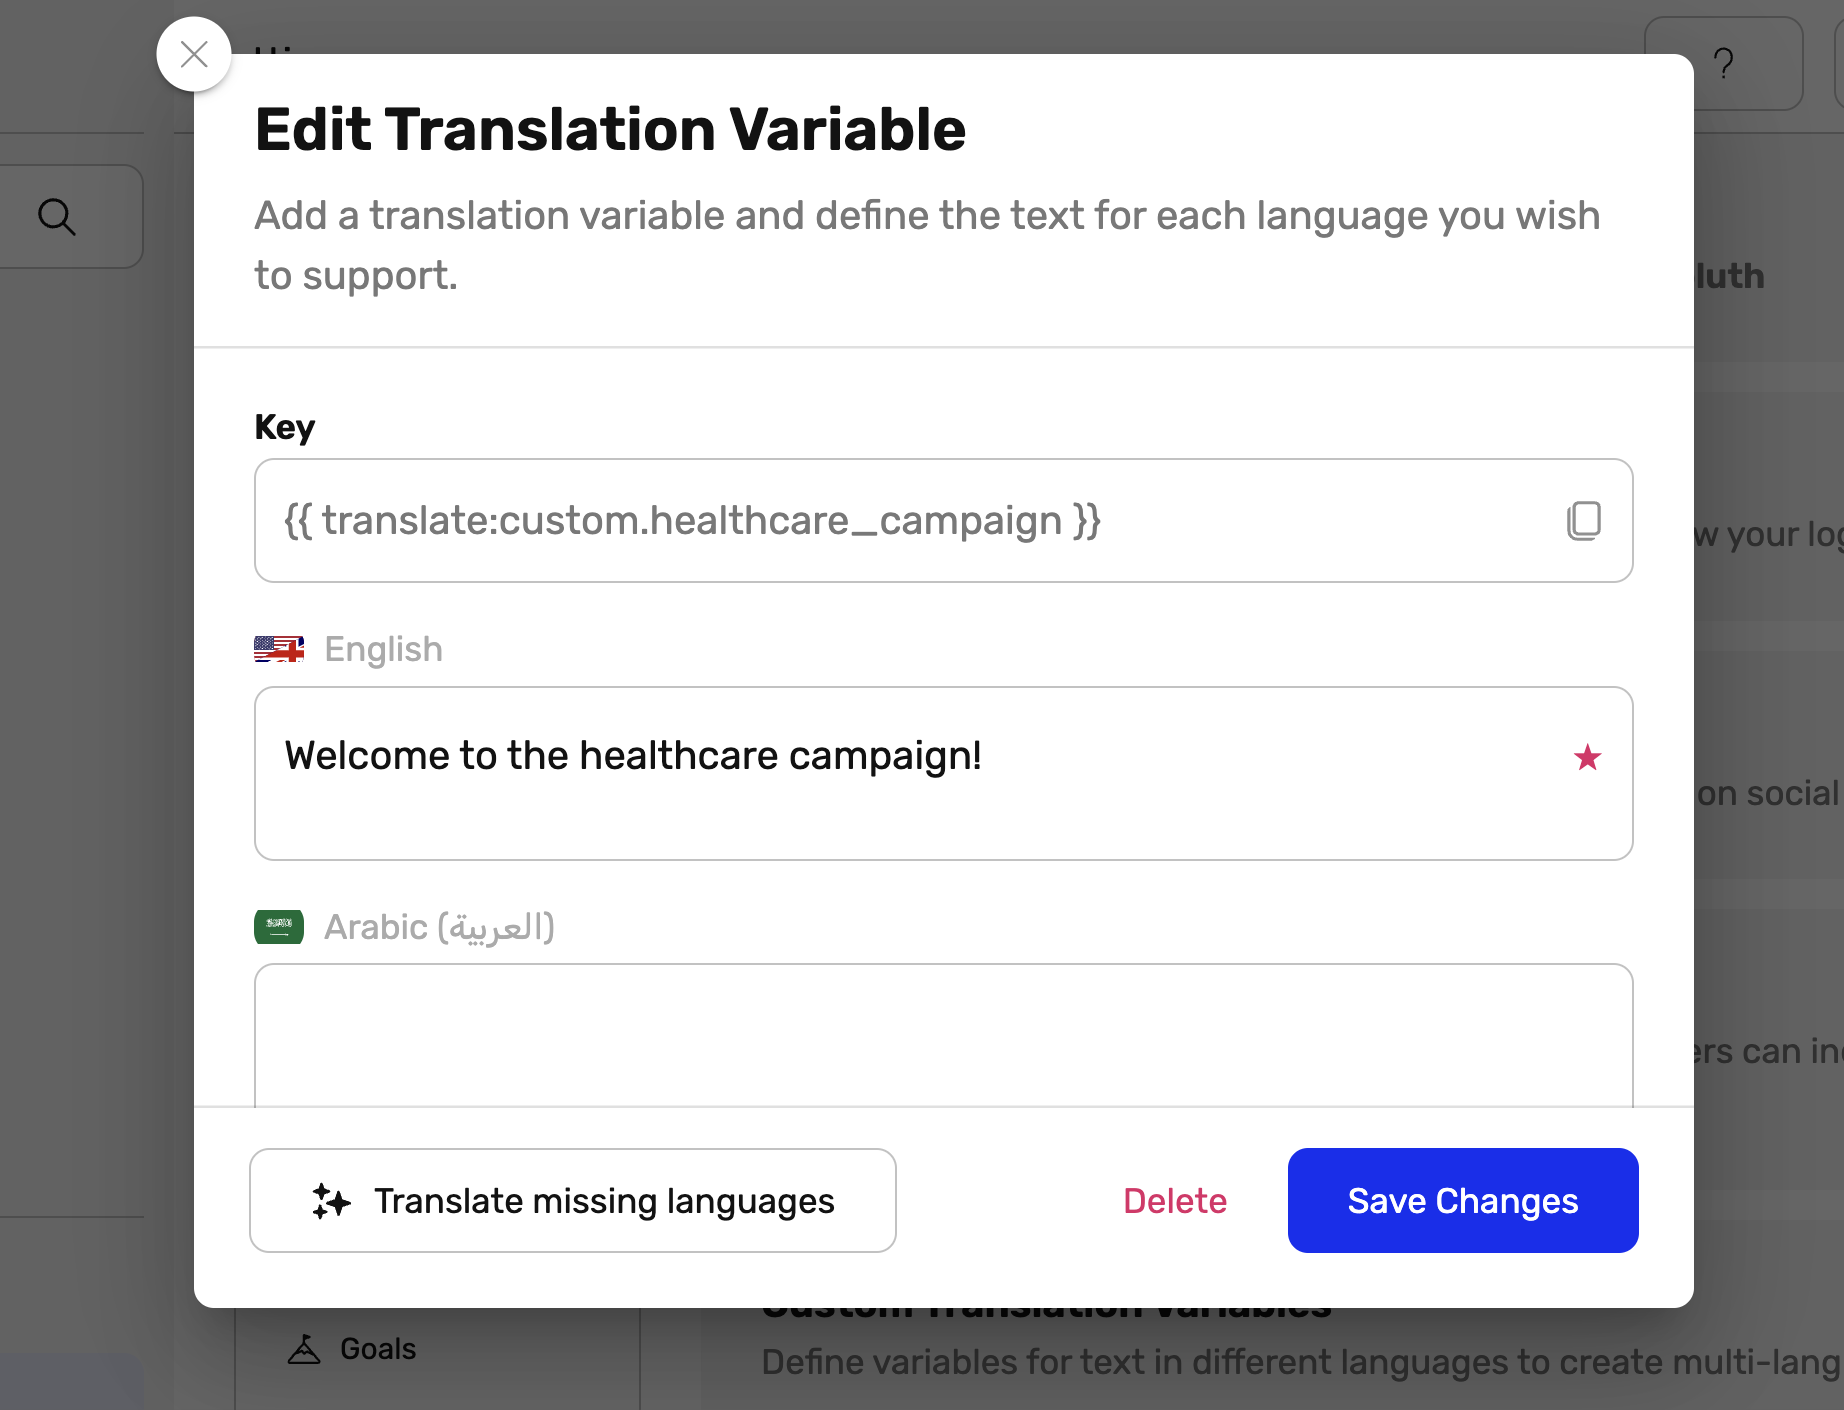
- Enter a unique key name e.g. idea_form_a_title.
- Note: Key names must be lowercase, use US-ASCII letters, and include underscores instead of spaces.
- Fill out the English translation (mandatory) and translations for other supported languages.
- Optionally, use AI to automatically fill out the other supported languages.
- Review and click Save to finalize.
Using Custom Translation Variables

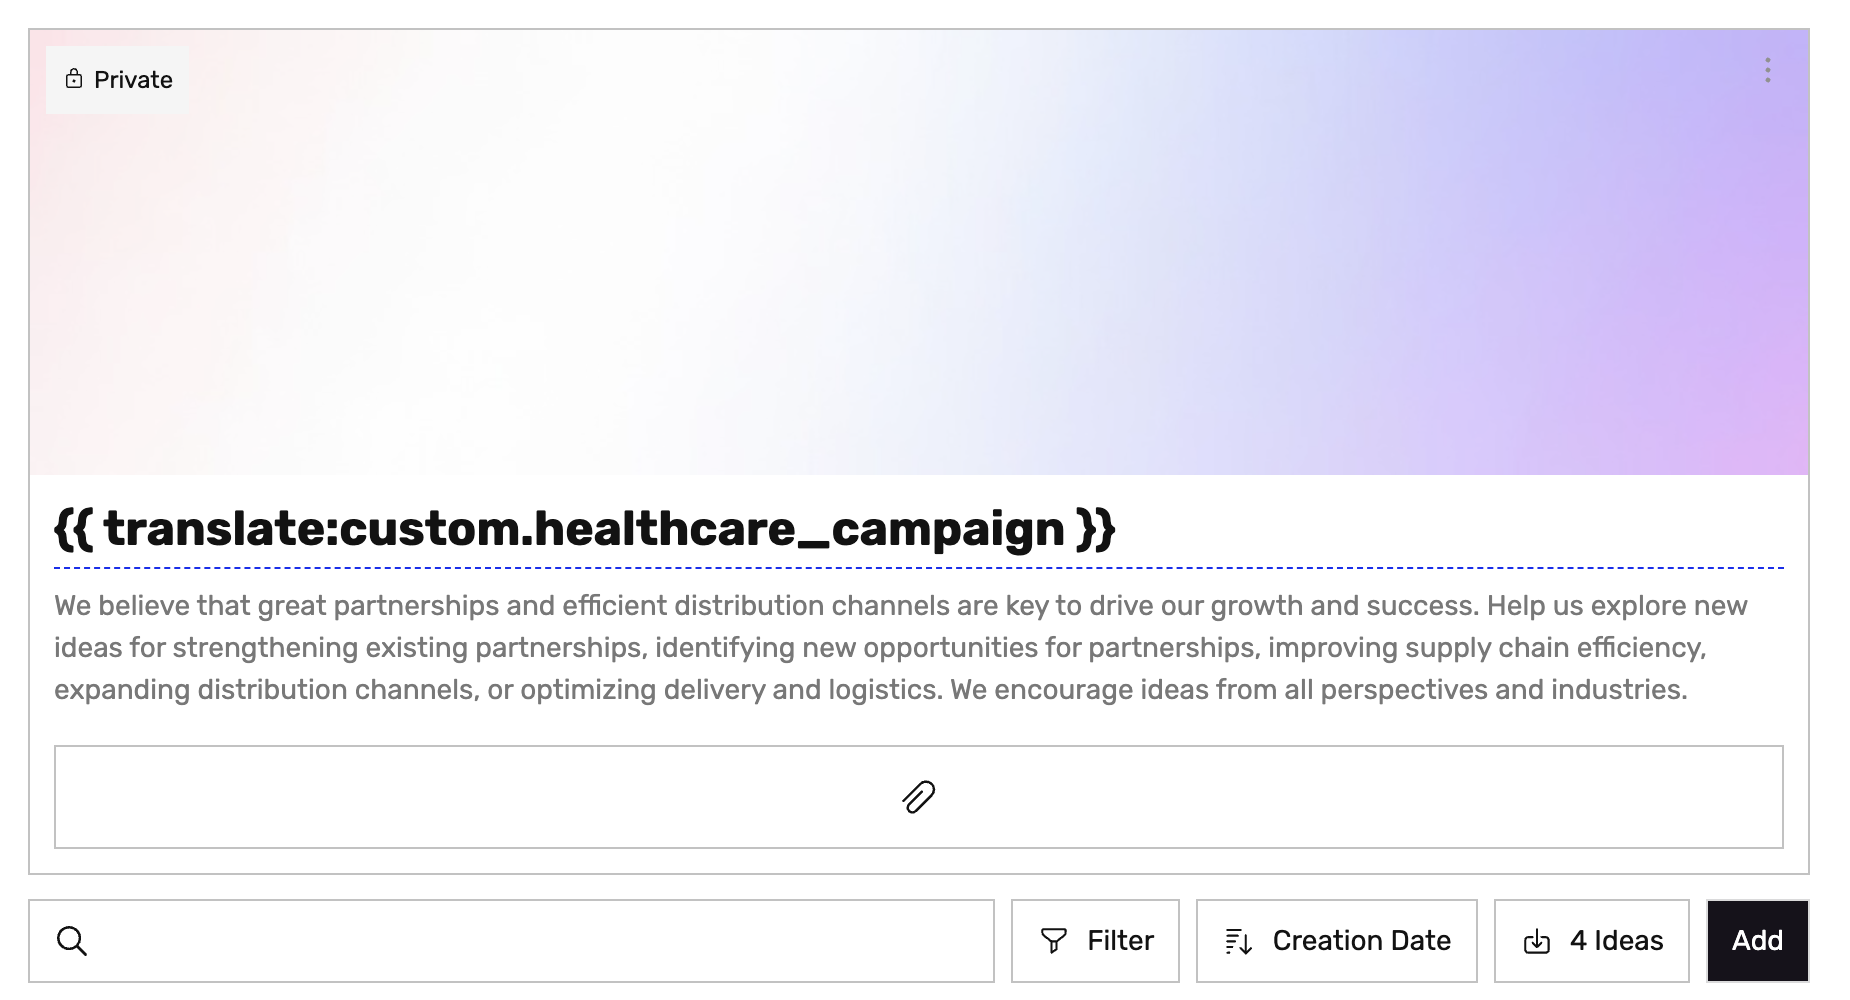
You can use Custom Translation Variables anywhere text is allowed, such as forms, idea collection descriptions, and phase titles. When a user views the workspace, the variable automatically displays text in the language they have selected in their profile.
- Example:
{{ translate:custom.healthcare_campaign }}displays the localized version of the "healthcare campaign" text.
Editing a Custom Translation Variable
To modify existing translation keys:
- Navigate to Settings > Workspace > Custom Translation Variables.
- Click the key you want to edit.
- Update translations in the editing dialog. The uneditable key path appears at the top.
- Use the copy icon to copy the key for easy pasting into text fields.
- Changes save automatically. Click Done to close.
Deleting a Custom Translation Variable
Deleting a translation variable removes it from all associated text fields.
- Go to Settings > Workspace > Custom Translation Variables.
- Select the translation key you want to delete.
- Click Delete and confirm when prompted.
- Warning: If a translation key is deleted, fields using it will display as empty until a new key is added or the translation is restored.
Best Practices for Custom Translation Variables
- Use Descriptive Key Names: Choose names that indicate their purpose (e.g., custom.invitation_banner_text).
- Plan for Consistency: Ensure translations follow your brand tone and style across languages.
- Avoid Hardcoding Text: Use translation variables instead of fixed text to make updates easier.
Pro Tip: Testing and Verification
Switch your profile language to different languages to preview how translations appear across your workspace. This ensures that all text is correctly translated and displayed as intended.
By using Custom Translation Variables effectively, you can enhance your workspace’s inclusivity and make communication seamless for global teams.


