


Views
Picture Views as a dazzling array of lenses, each offering a unique perspective on your innovation projects or campaigns.
Whether you crave the simplicity of a clear-cut list, the flexibility of a Kanban board, the sleekness of compact cards arrangement, or the depth of a detailed plot view, Views empower you to effortlessly switch between them, precisely catering to your ever-changing needs.
View Types
Ideanote gives you access to the full set of View Types, no matter which plan you are on.
The following View Types are available:
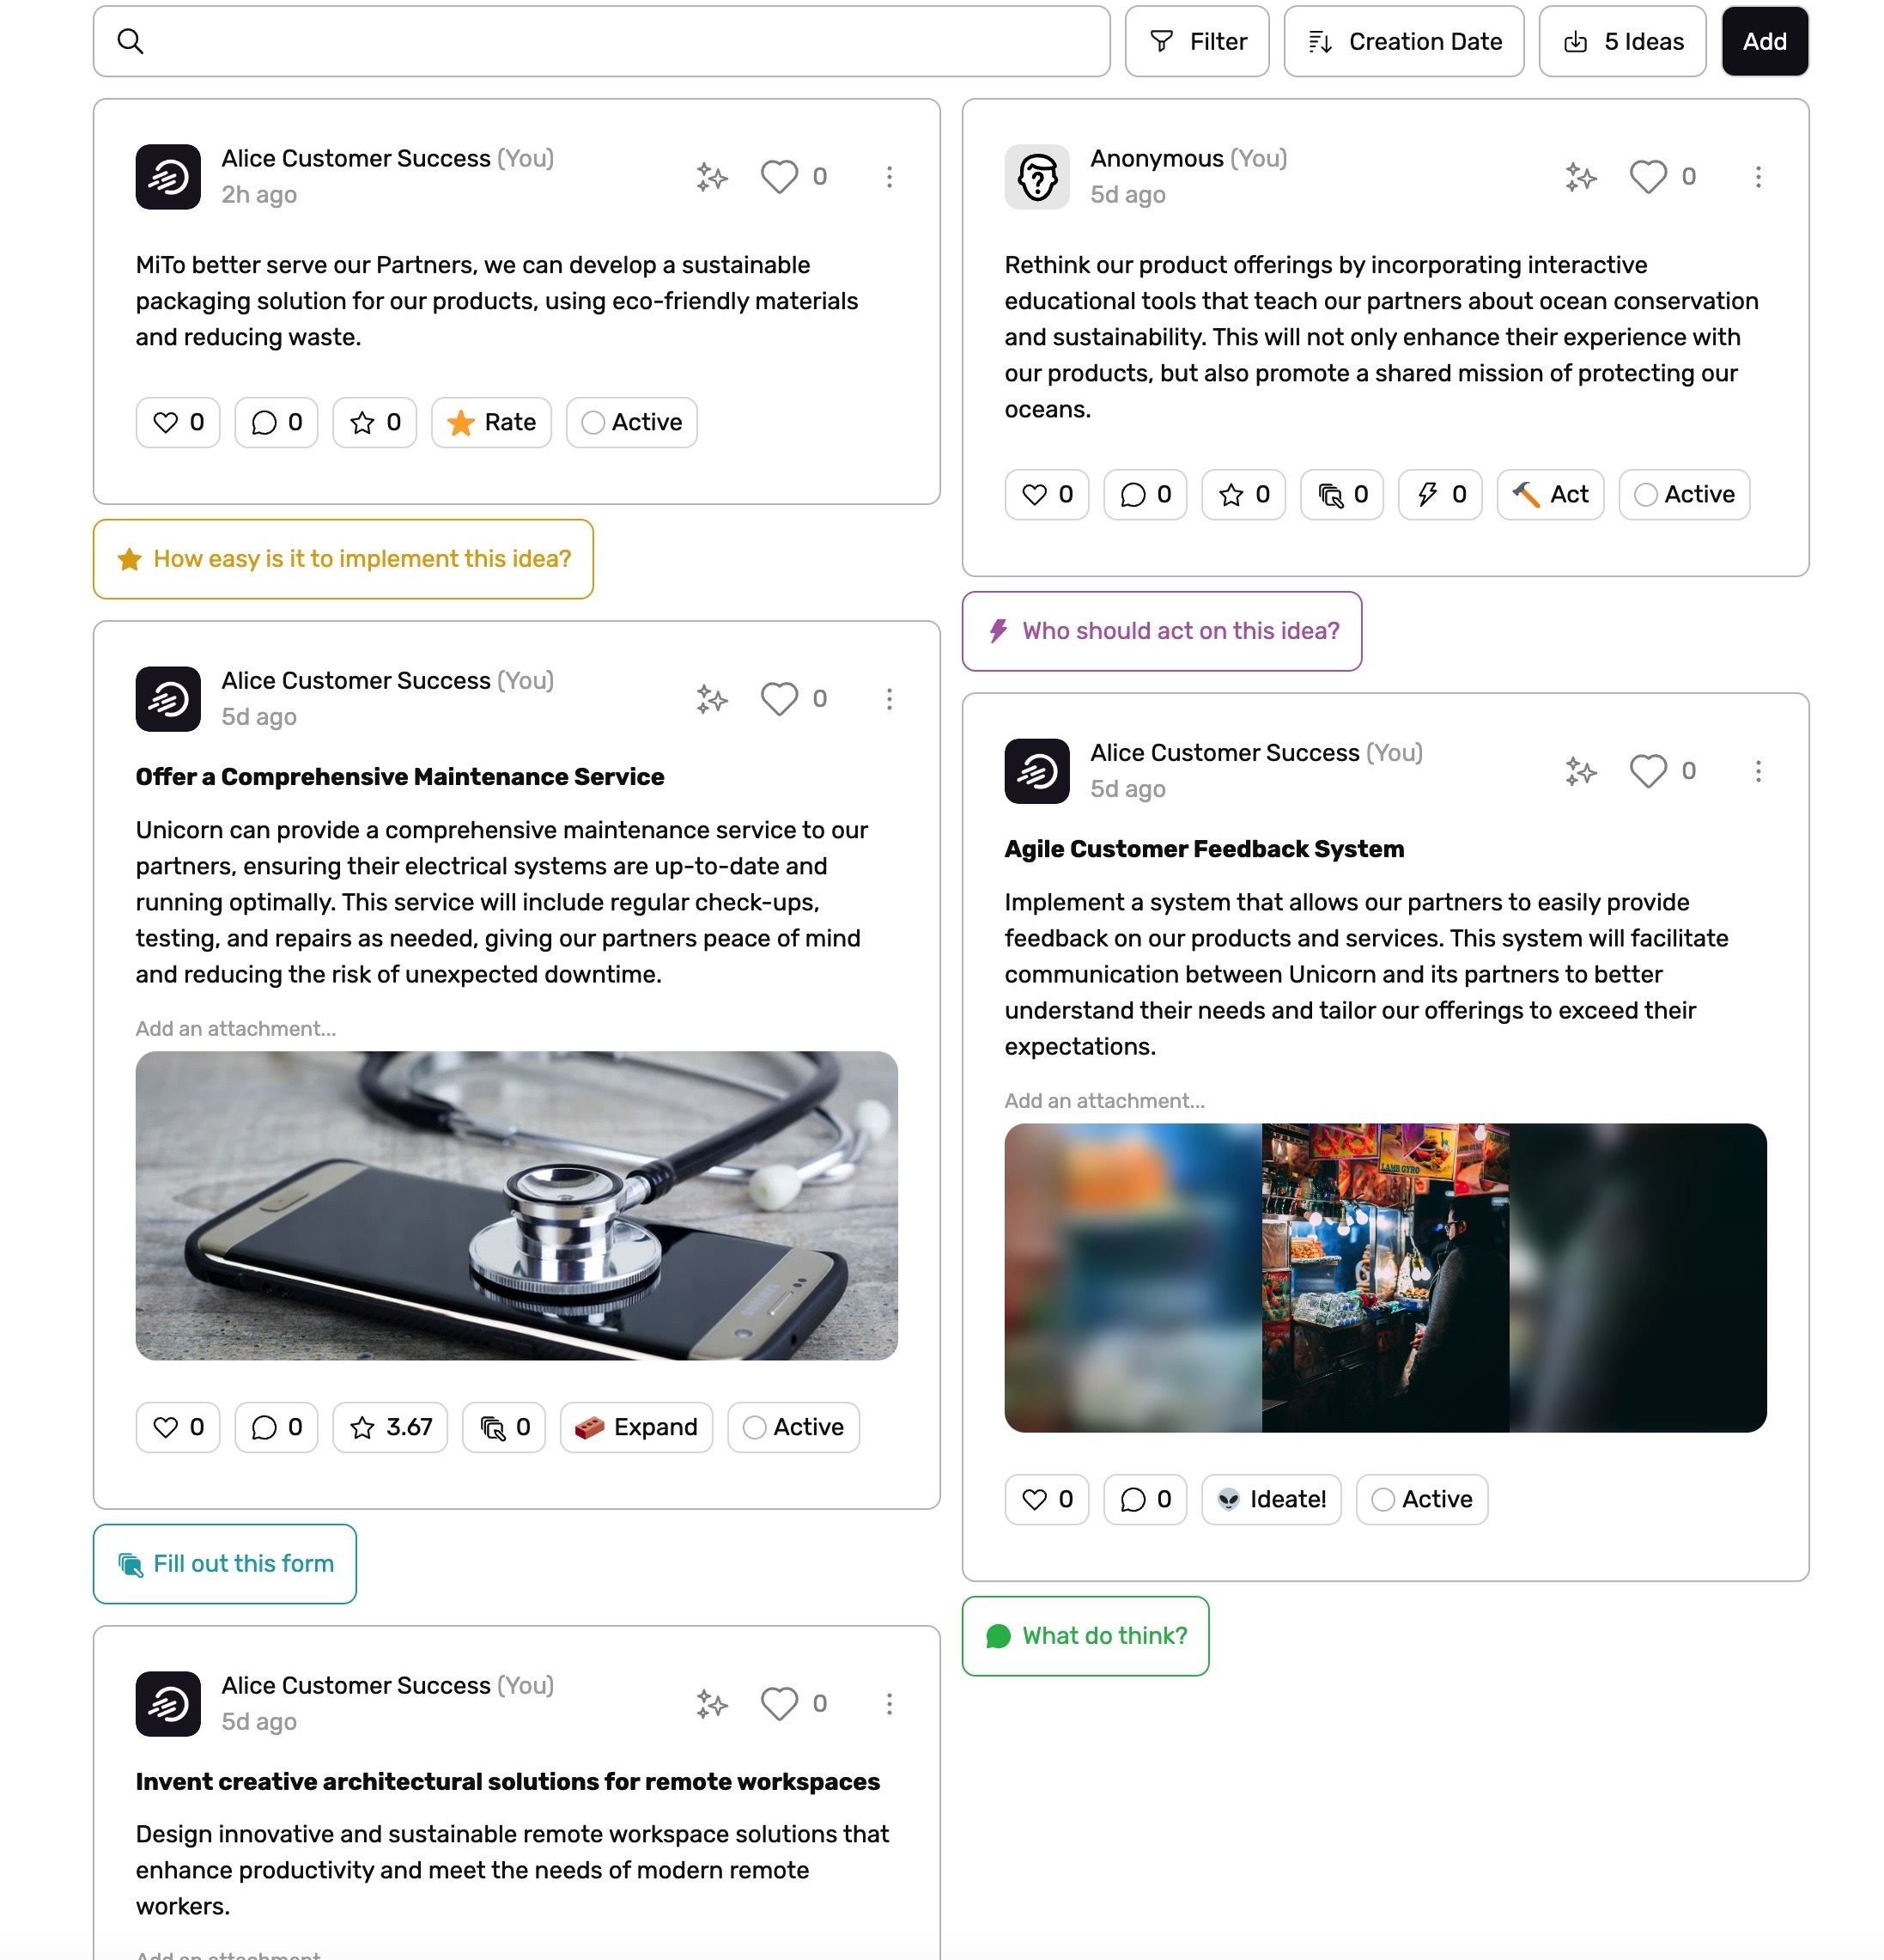
Cards View
Display each idea as a card, ideal for a quick overview of idea titles, descriptions, authors, and ratings.
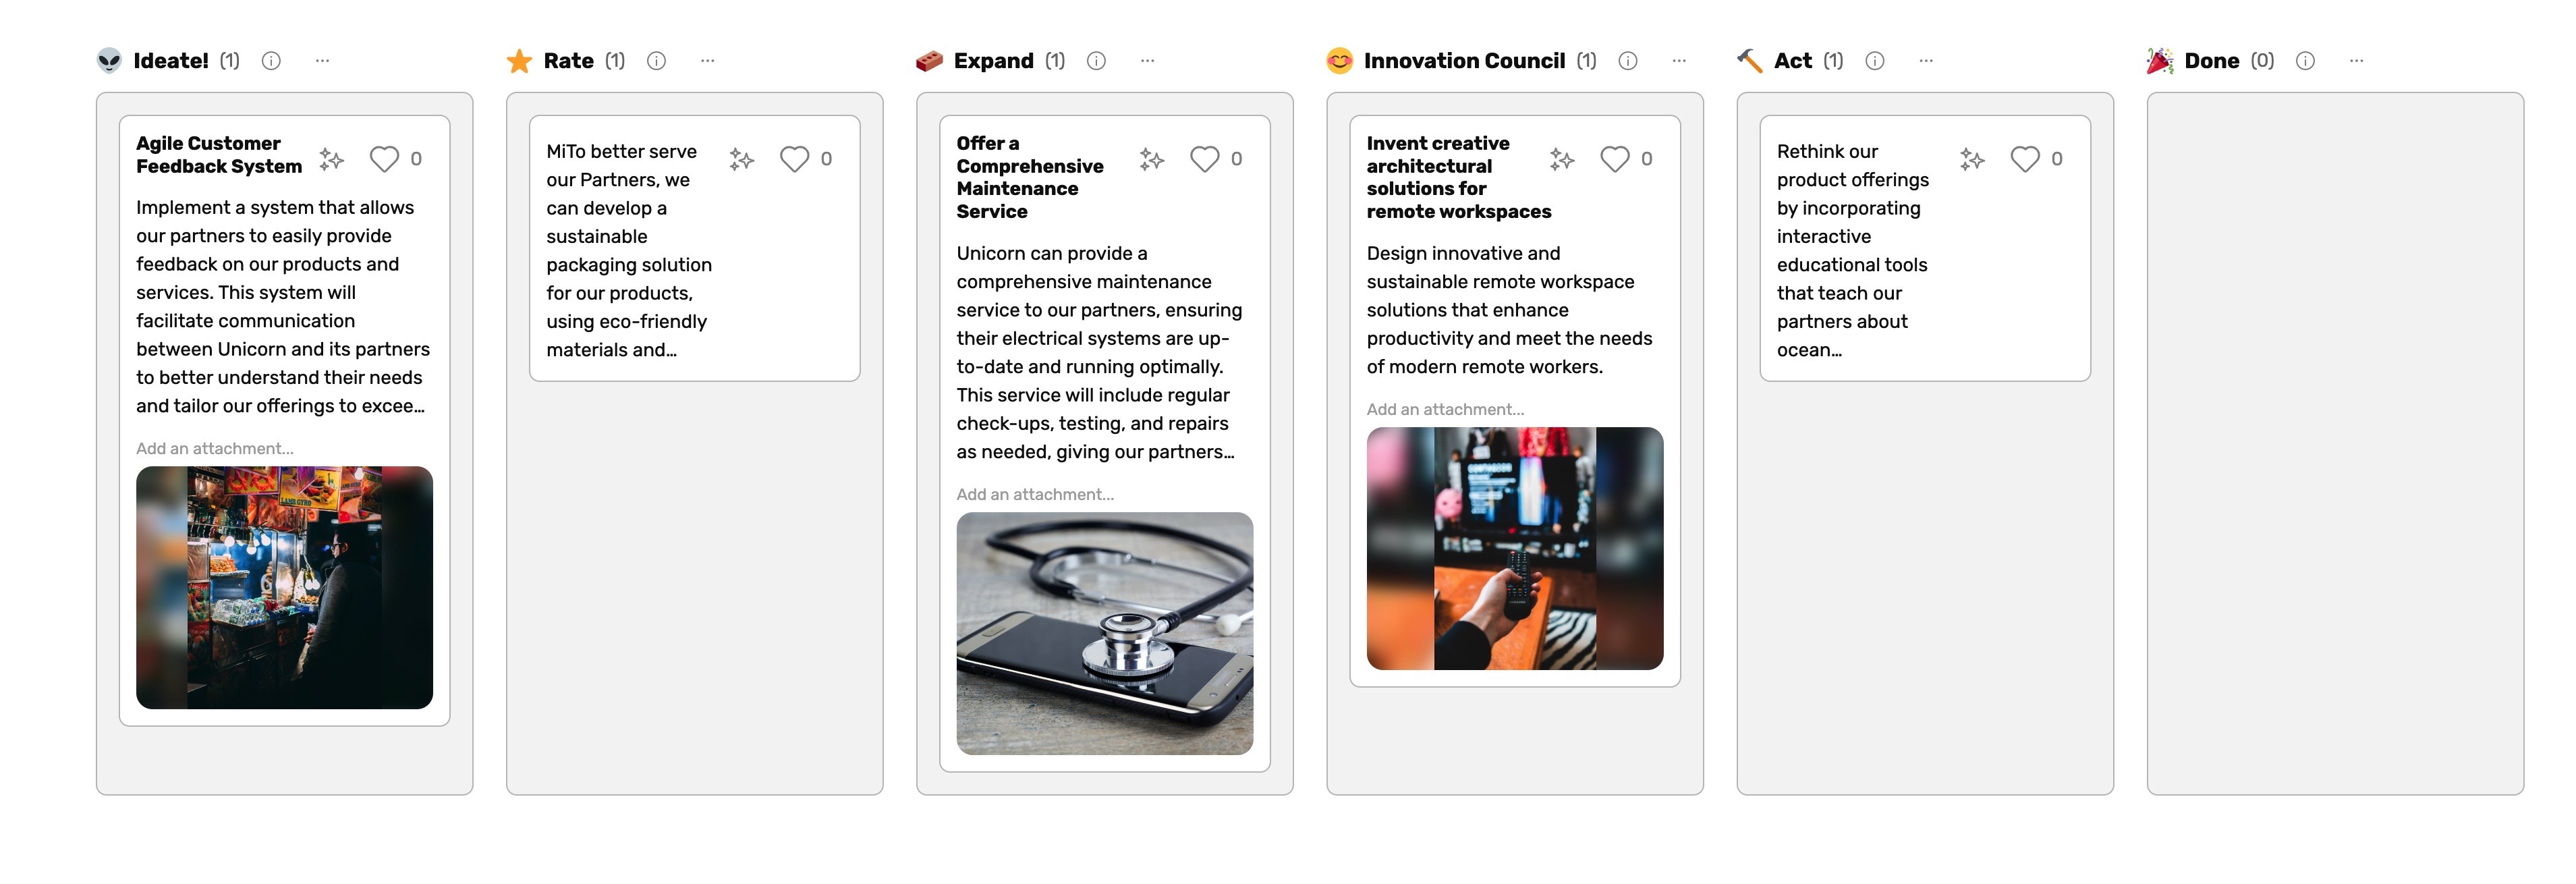
Columns View
Track idea progress in a kanban-style layout with customizable columns. Enables easy drag and drop of ideas through different stages.
List View
List ideas in a compact, linear format for efficient review, sorting and filtering of large volumes of ideas. Great to edit many ideas in bulk.

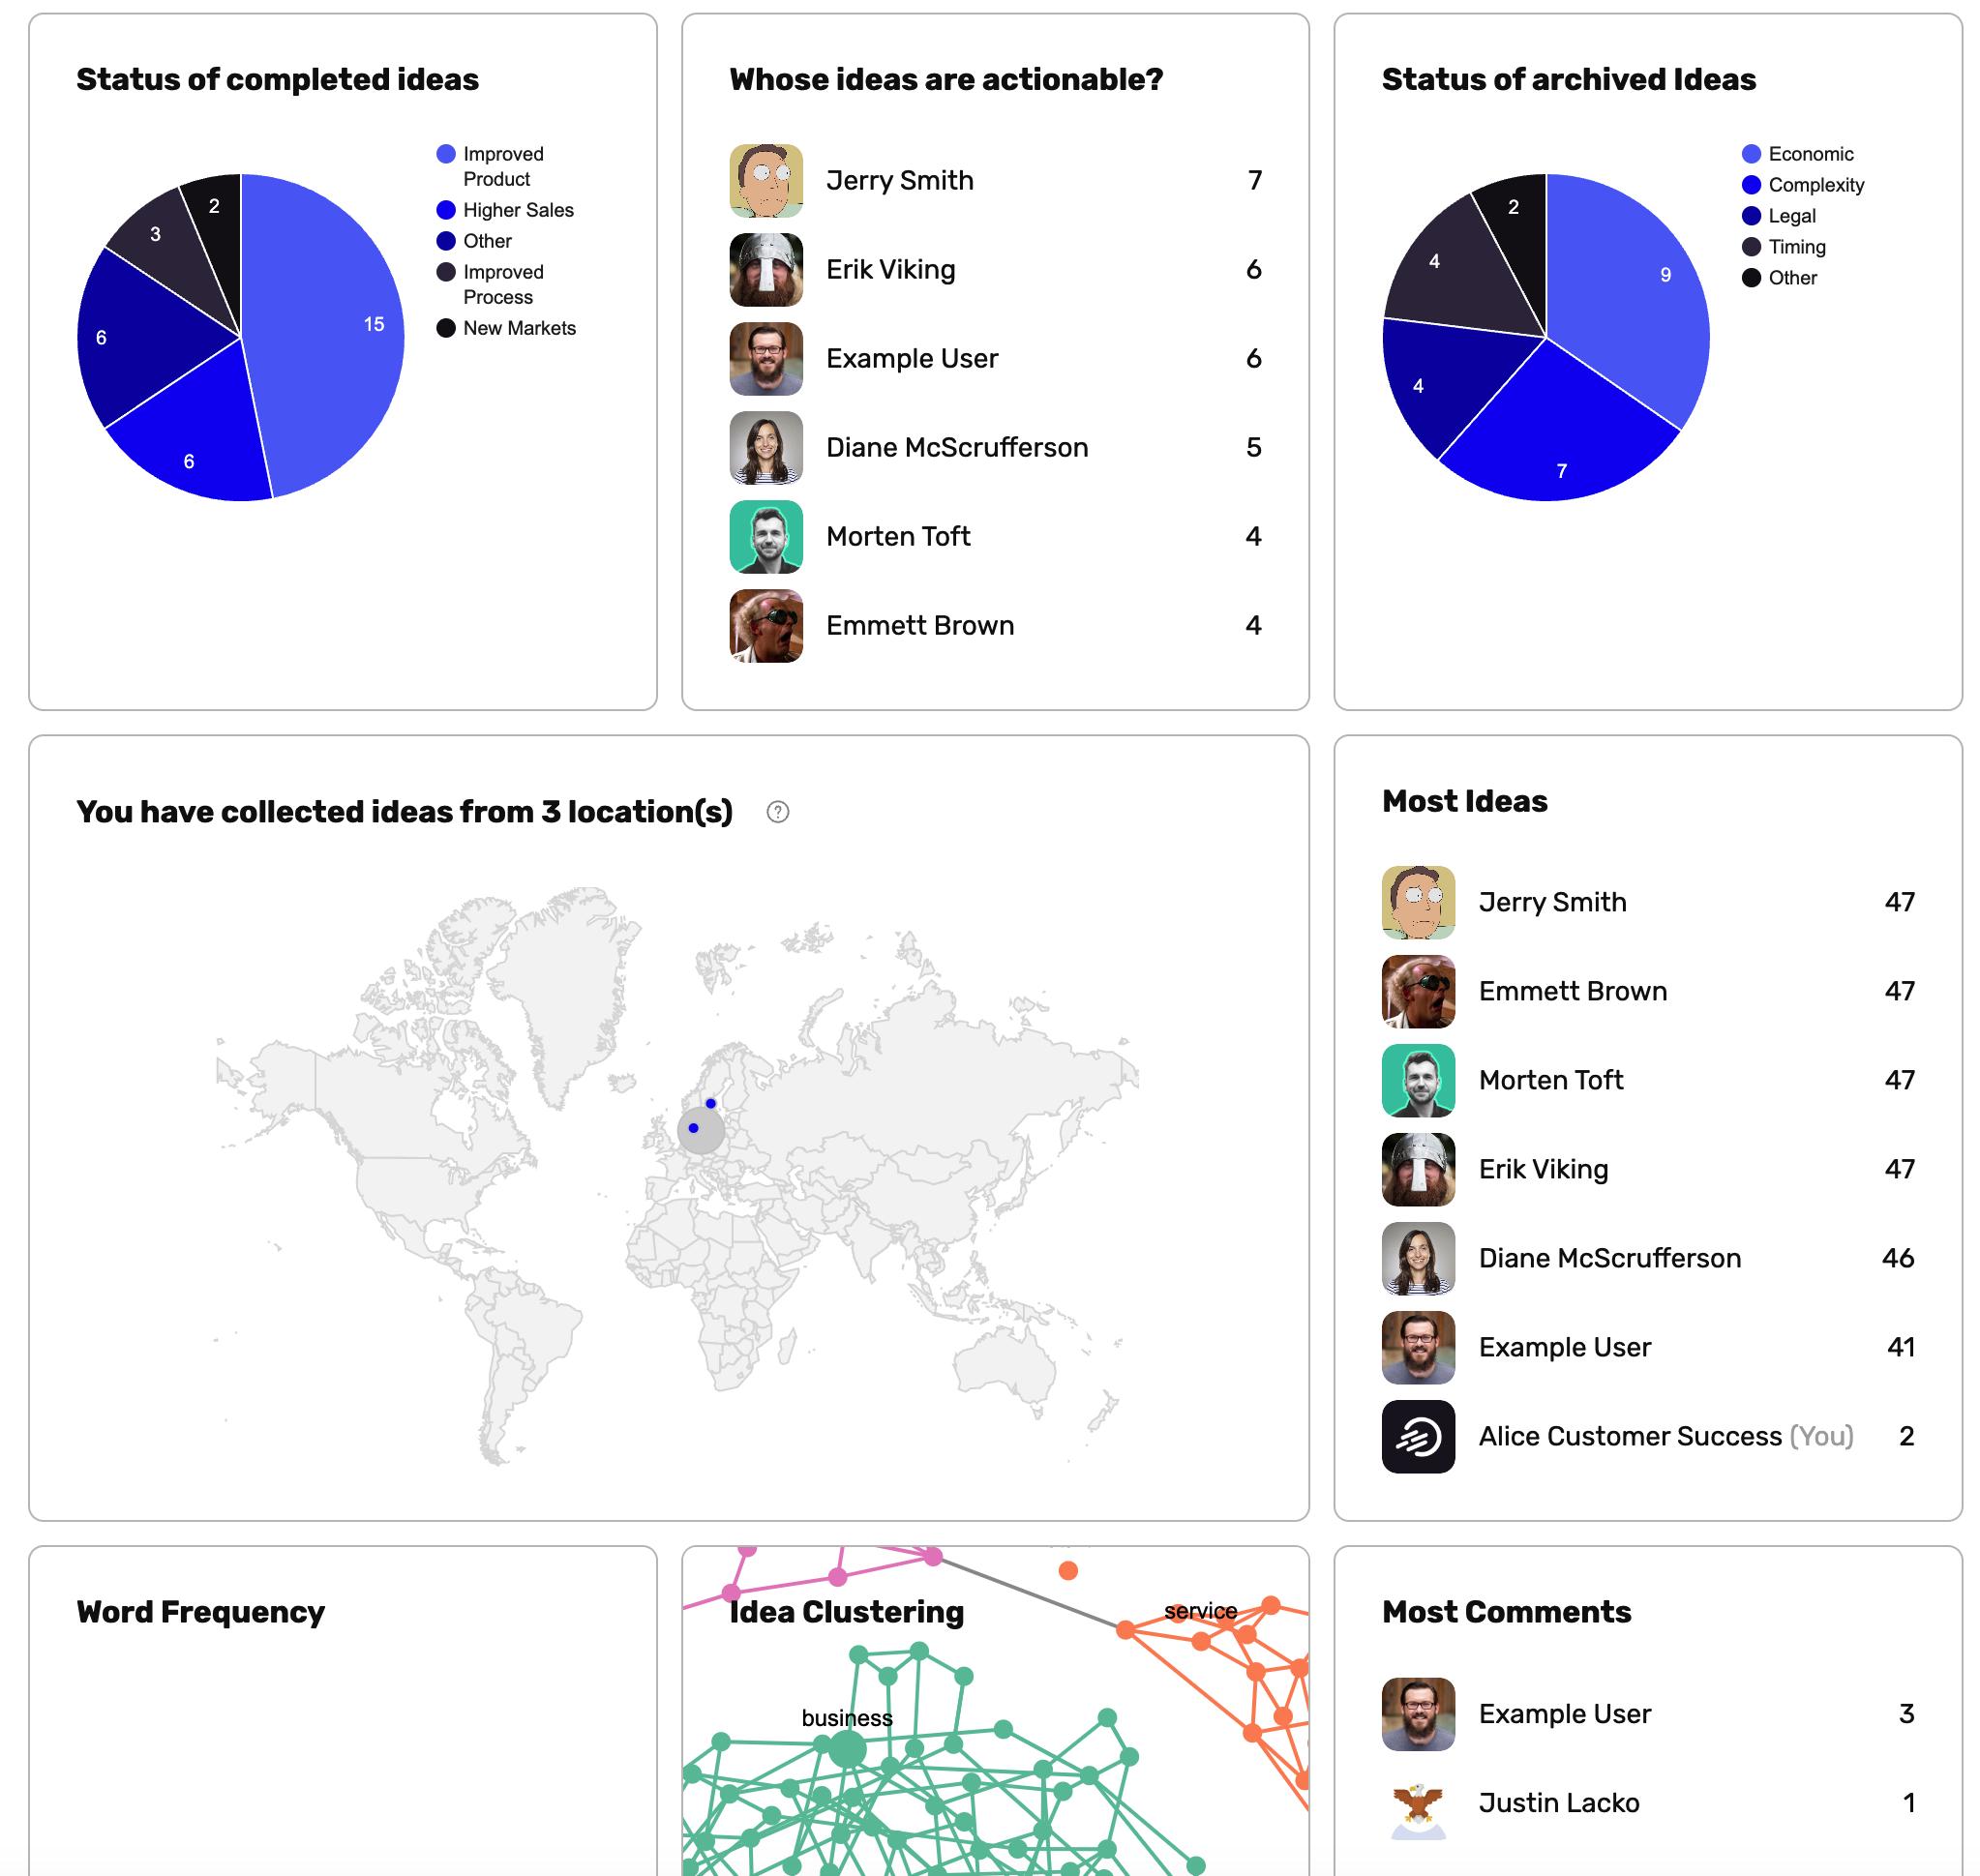
Analyze View
Get a data-driven perspective on your idea collections with metrics like engagement, ratings, and progress.
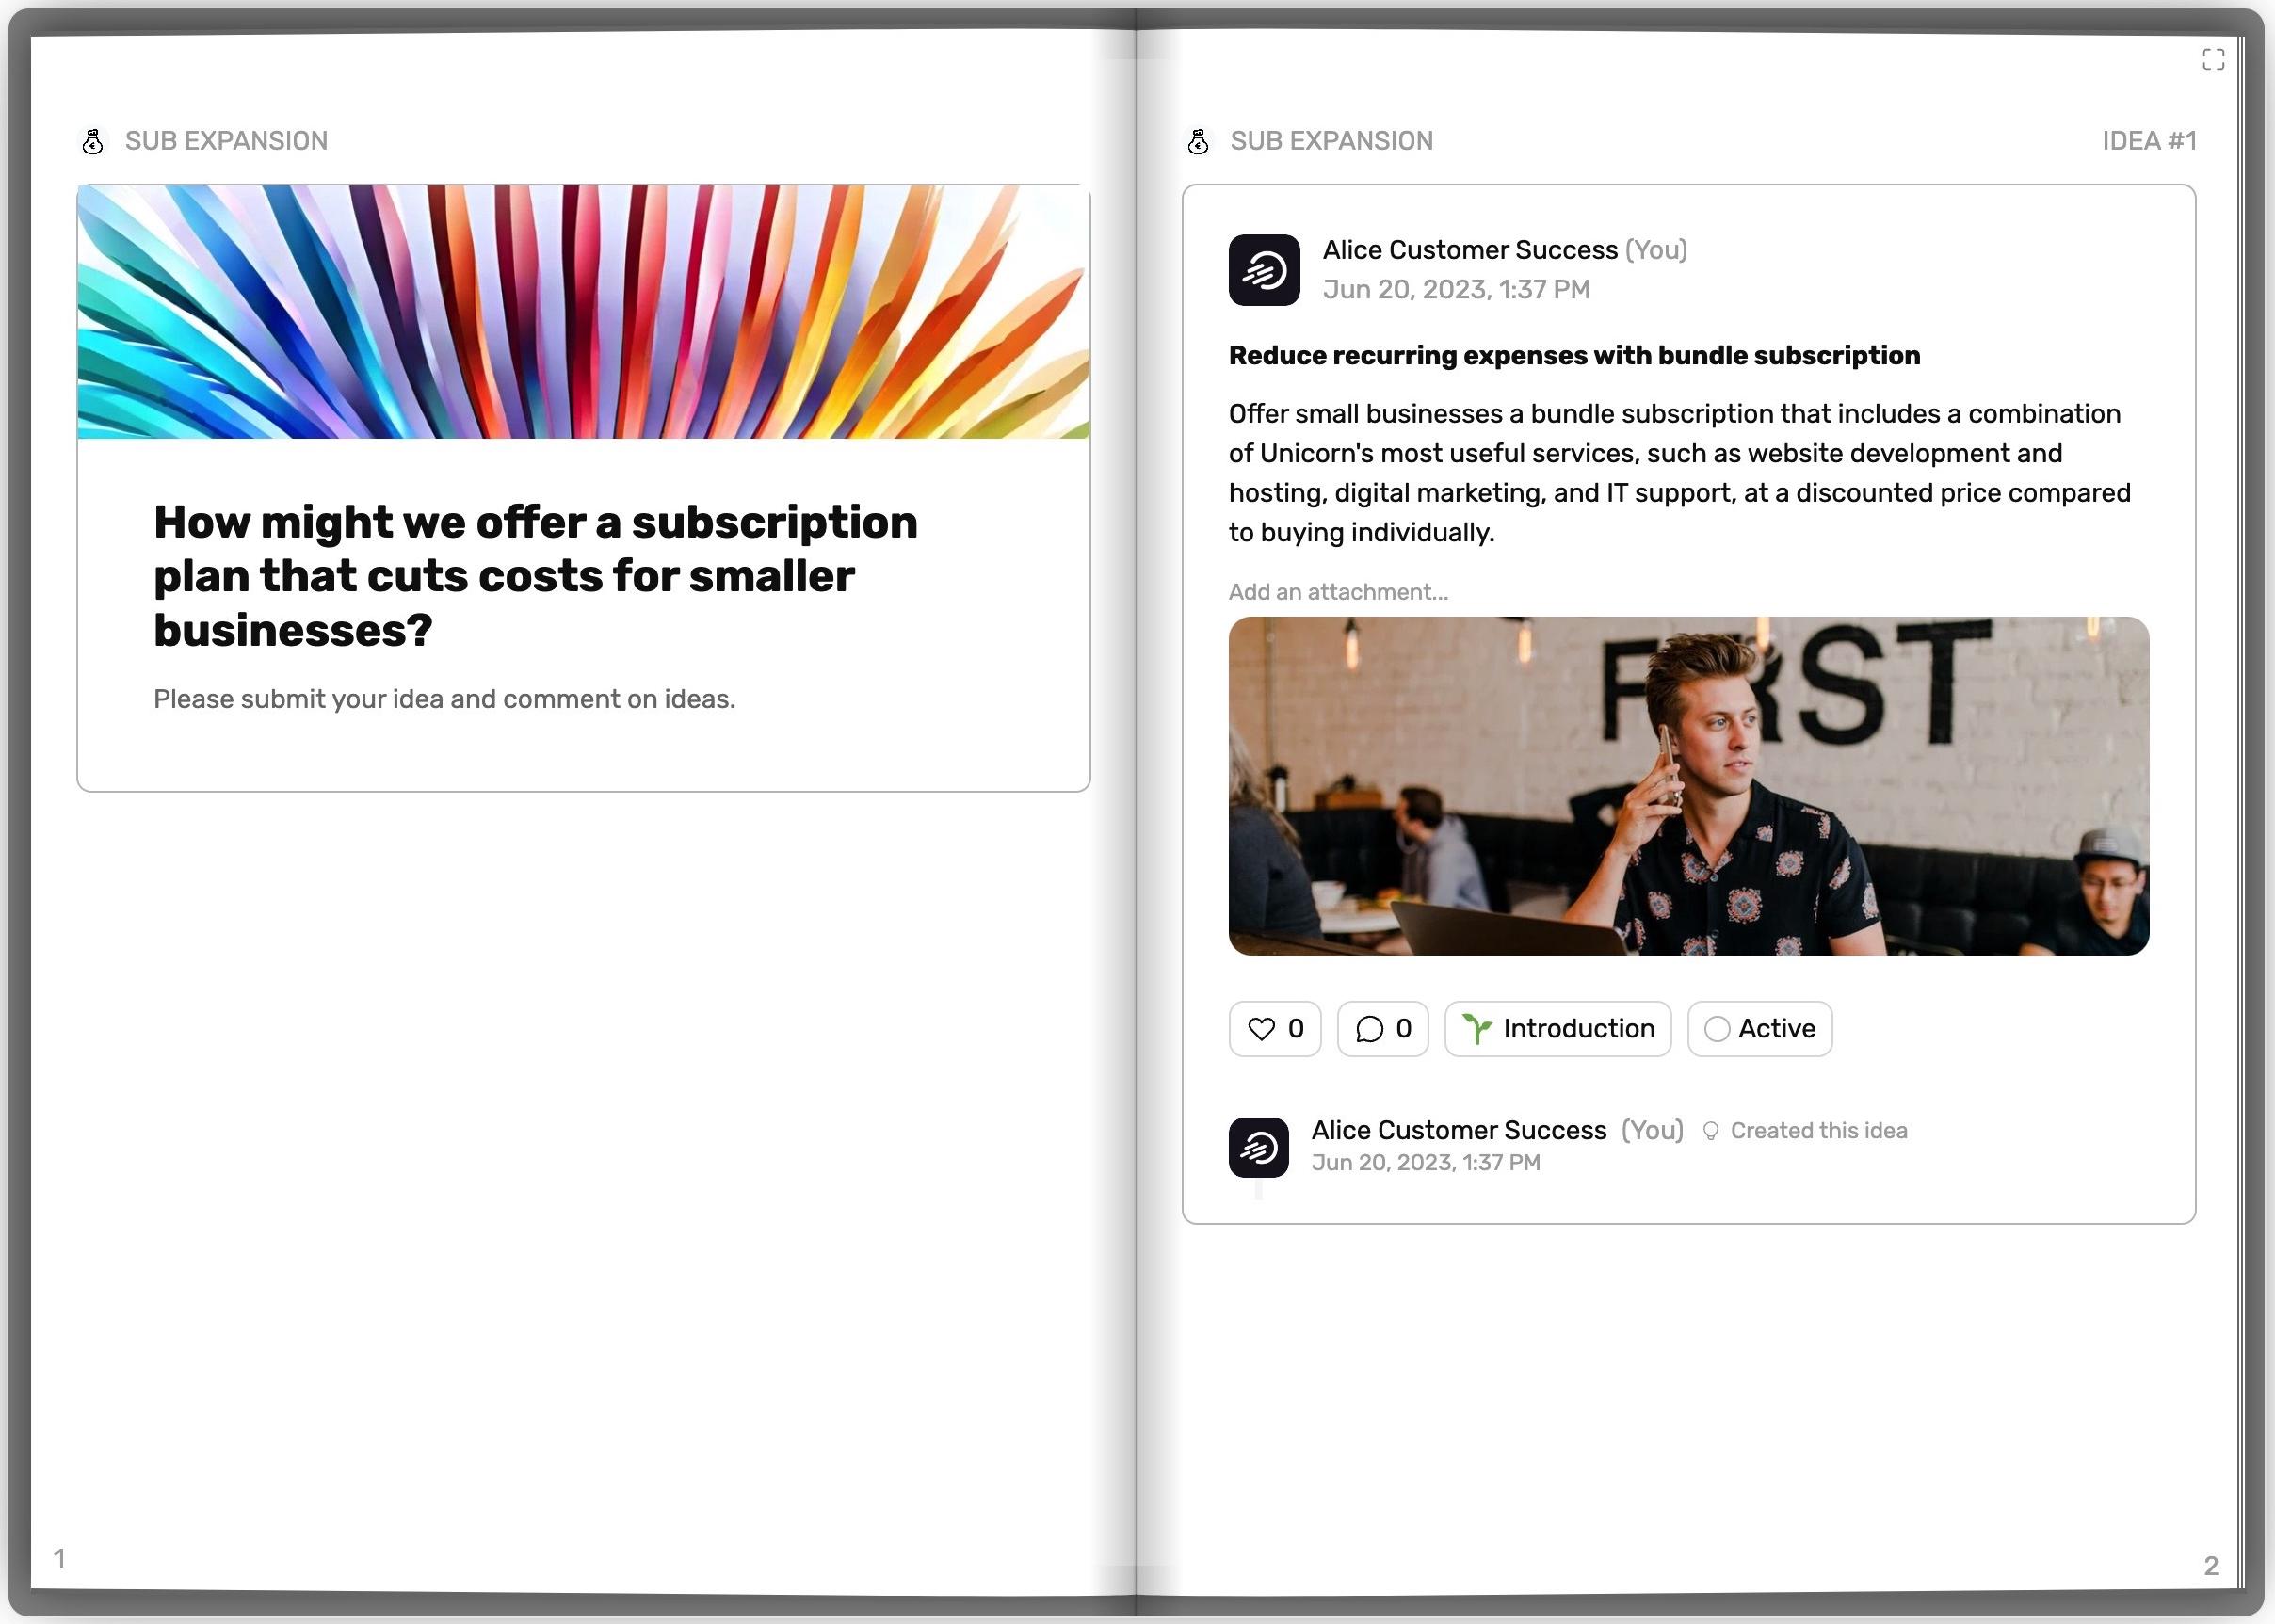
Magazine View
Present your ideas in a digital magazine-like format that you can download as a PDF. Excellent for rich content like images, videos, and extended text.
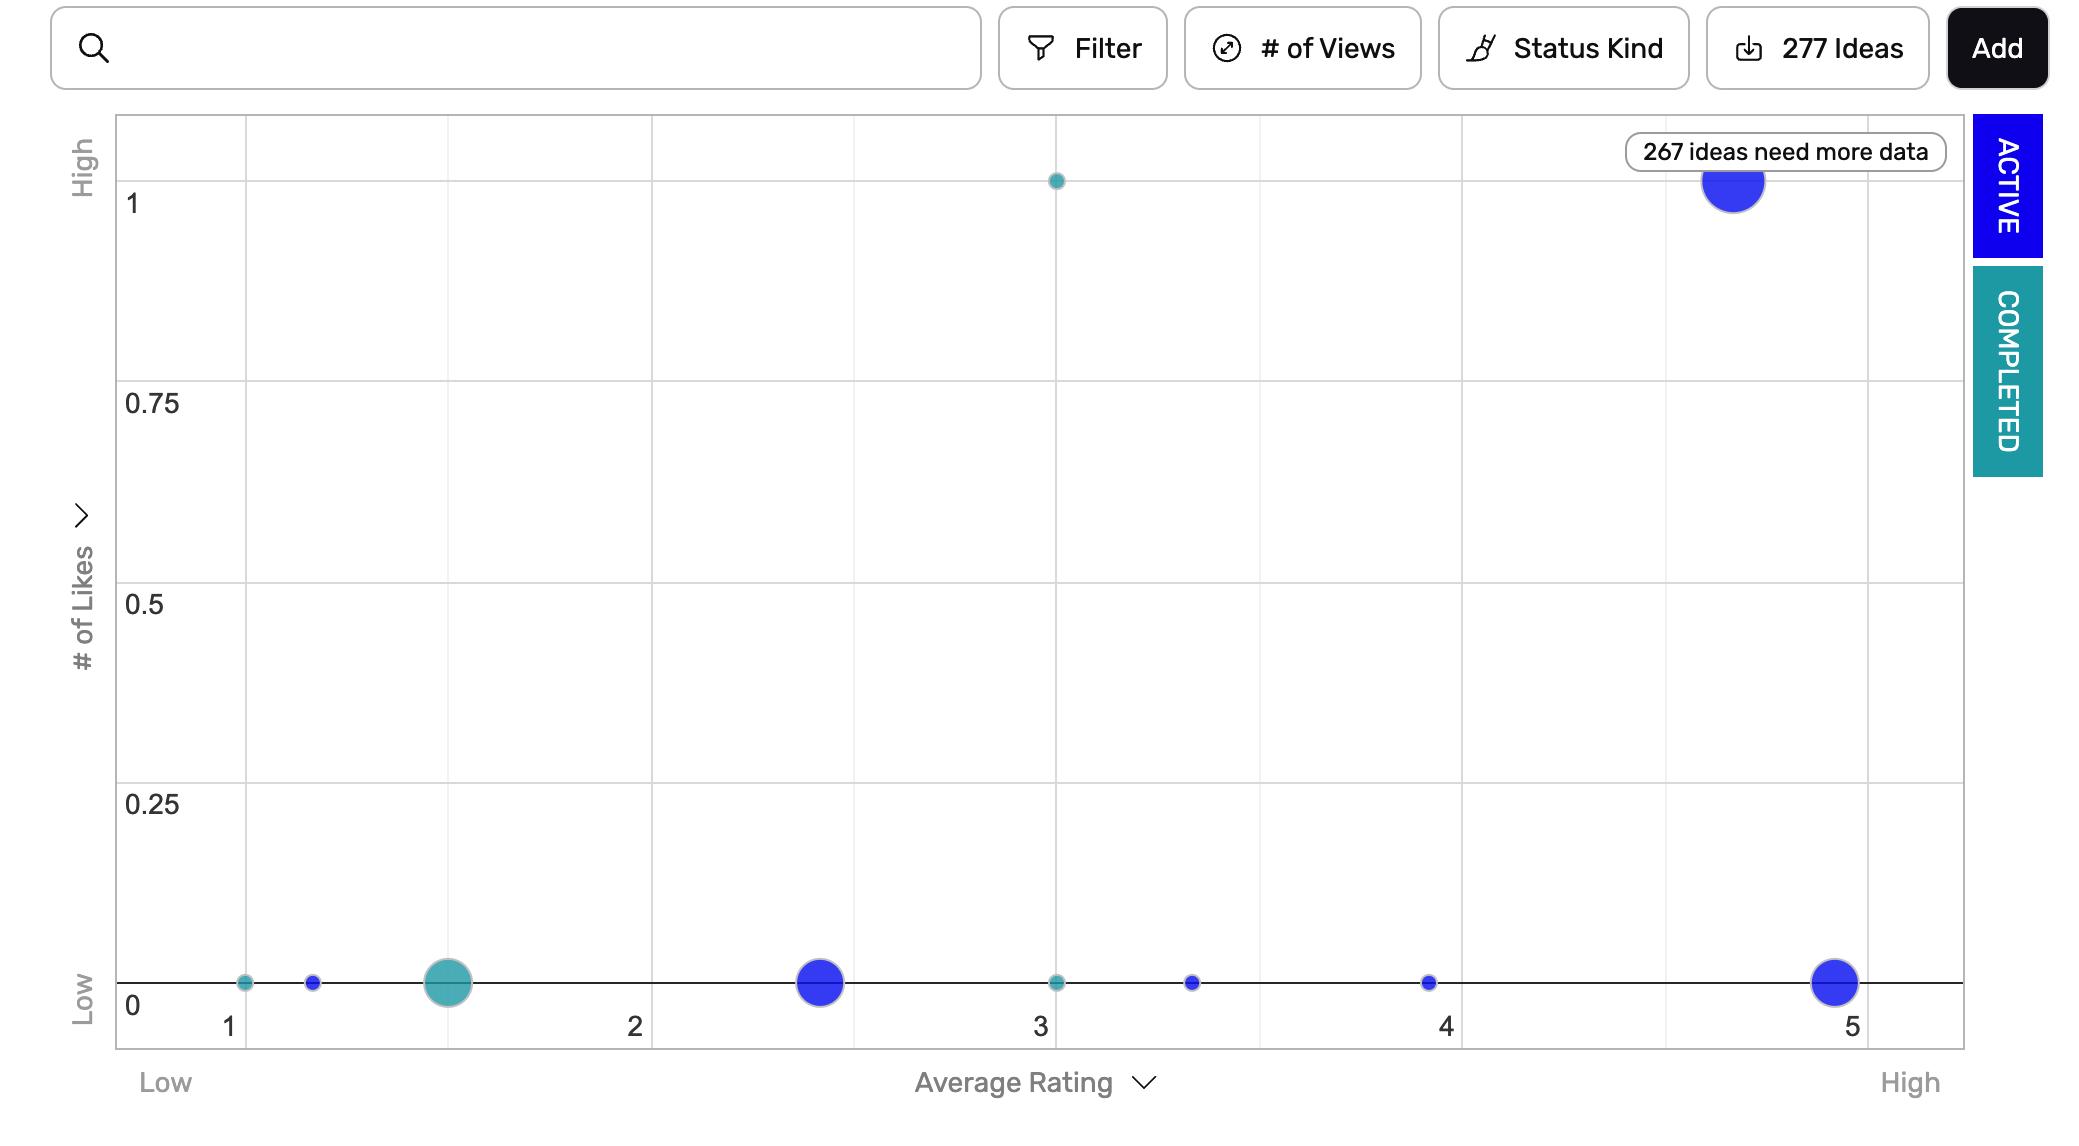
Plot View
Plot ideas on a graph based on specific criteria to analyze trends, spot outliers, or identify clusters of ideas.
Embed View
In simple terms, the Embed View allows you to display content from other websites, whether it's videos, documents, or entire web pages. It acts like a window inside your interface to view external content without navigating away from your platform. You can check if your link is compatible at iframetester.com. In some cases other platforms like Youtube, Vimeo and Google Docs allow you to generate embed links that can be embedded better.

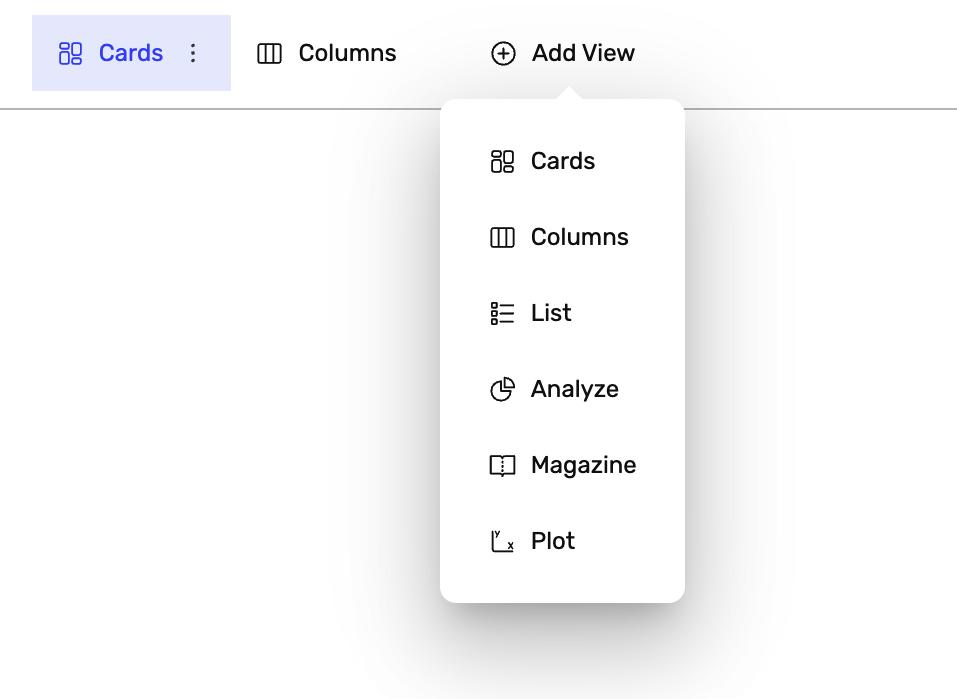
Add a View
You can add Views in any of your idea collections by clicking on "Add View" at the top navigation. Only users with full editing rights for the idea collection can add Views.
.png)
- Go to an Idea Collection
- Click Add View
- Select a View Type
- Define Visibility (optional)
- Refine Criteria for the ideas you would like to show up (optional).
Rename a View
You can rename Views to suit your needs. Only users with full editing rights for the idea collection can rename Views.
Advanced Settings
Edit View Access
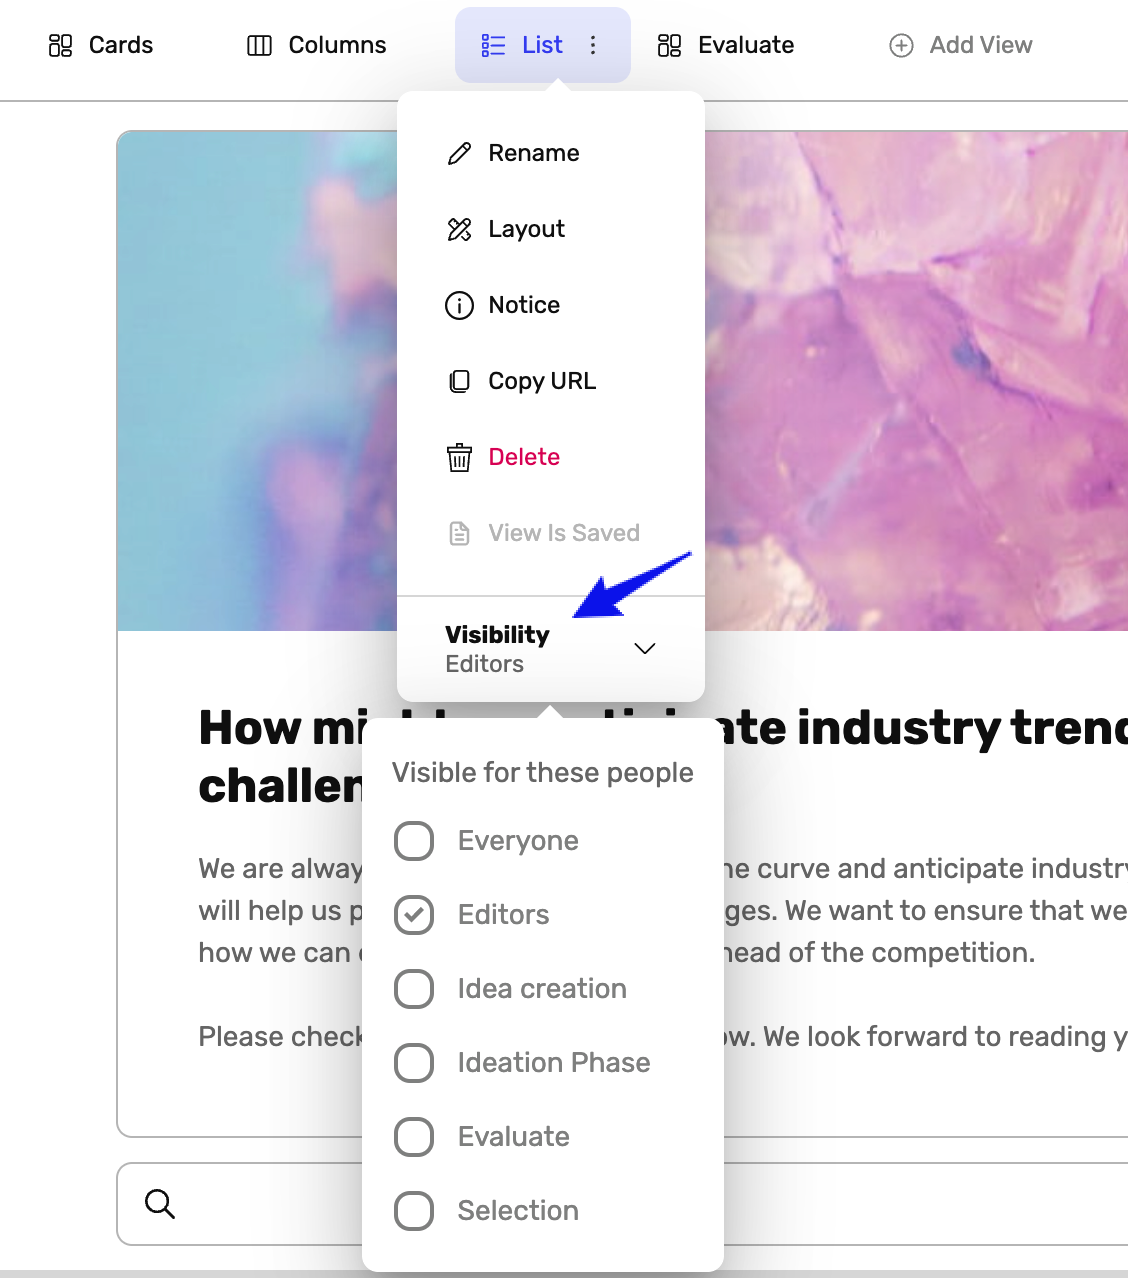
Views are visible to everyone by default. For each View you can decide which group of invited users should be able to see it by clicking the three dots next to the View name and selecting the access dropdown at the bottom of the menu.
Views are visible to people based on their general or phase specific access. View access is tied to Phase access to make it easier to manage as they are often task specific,
For example for rating ideas. You could share a view with all users that can rate ideas in a specific phase. If you give more users access to rate ideas in this idea collection they will automatically also have access to the View.
Edit View Layout
Allow to customize page information being displayed on-screen. accessible on a permission based. To disable the Cover image from displaying, toggle off this option to be hidden from the page. The same applies for each of the options listed.

- Go to an Idea Collection
- Select a View from the Top Navigation Bar
- Click Layouts
- Disable Options
- Save the View
Edit and Save Filters to a View

- Go to an Idea Collection
- Select a View from the Top Navigation Bar
- Click Filters
- Pick available Filters or create Custom Filters
- Define criteria of the ideas you would like to remain visible
- Save the View
- Optional: You can save the Filter to a View so it shows up for a specific part of an audience or the entire audience.
- Optional: You can choose to hide the Filter button from the audience via Layout settings so a View remain the same for all users with visibility access.
Add a Notice
Optional: Add additional information specific to the View that will display in a banner pinned to the top of the View page.
Simple html tags like <a> and <b> can be used to format the text.
- Select a View from the top bar
- Click on the 3 dots next to the View name
- Select Notice on the list displayed
- Enter text
- Click Save